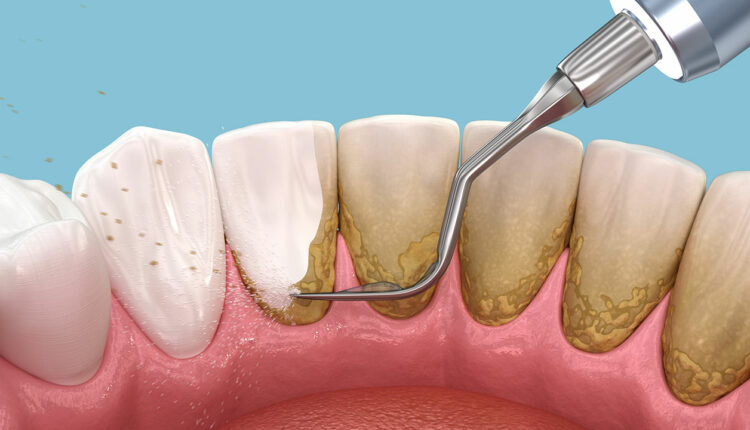
Mastering Proper Technique While Instrumenting Burnished Calculus Deposits
Slow and methodical overlapping strokes are necessary to remove these stubborn deposits.
Removing tenacious and burnished calculus presents a challenge to clinicians. After appropriate instrument selection, propoer technique is integral to successful patient outcomes.
Files are adapted with the working end or head placed parallel to the deposit (Figure 1). The file head should be adapted on the calculus and not on the root surface. The file is engaged with pressure and pulled with short 1 to 2 mm strokes to fracture the dense structure. Working strokes are used in varied directions to crush calculus.1,2
With ultrasonic technology, approach the calculus from the coronal to the apical portion. Use vertical strokes, as with probing (Figure 1 and 2), particularly if using a round tip, and progress to horizontal strokes on the sides and top edge of the deposit. Approaching tenacious calculus from the bottom or middle of the deposit might burnish.
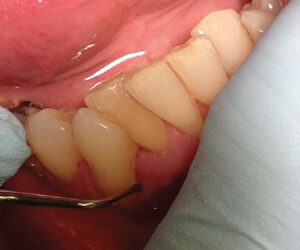
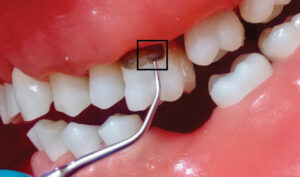
Adapt only 1 to 2 mm of the tip in an oblique (tangential) direction after the initial removal (Figure 3). Adapt the proper side of the tip according to the technology: magnetostrictive or piezoelectric. Activate ultrasonic instrumentation using moderate to higher power; low power will enhance burnishing. Strokes should be slow to methodically remove deposits in 1 to 2 mm overlapping channels.2
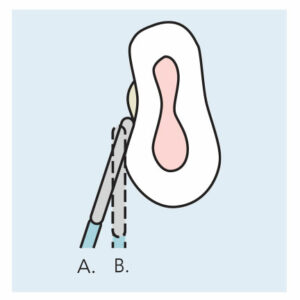
Correct adaptation with sharp curets starts with a light grasp and fulcrum that is firmer when deposit is removed. The fulcrum, grasp, and instrument create a tripod support needed to apply moderate lateral pressure. Curets are adapted at the apical portion of the deposit with 1 to 2 mm of the blade contacting the root (Figure 3).
Apply key principles of activation, such as use of a sharp curet with a rigid or extra rigid shank and a blade that negotiates the pocket shape. Removal occurs in 1 to 2 mm segments in width and depth. This channeling is more effective than shaving deposits from the outside surface to the surface adjacent to the root.
Again, slow and methodical overlapping strokes are recommended. Fast working strokes tend to not engage deposits of this type. In between the short overlapping working strokes, relax the grasp and fulcrum and then tighten in a balanced form when reactivating.
References
- Hodges KO. Using files in periodontal therapy. Dimensions of Dental Hygiene.
- Pattison AM. Tips on technique: using periodontal files. Dimensions of Dental Hygiene.
This information originally appeared in Hodges KO. Removing burnished calculus. Dimensions of Dental Hygiene. 2023;21(8):18-21.
